Updated on 9 October 2026
How to add and fill in analytical fields on invoices
Four ways to enter or edit the analytical information of your invoices, depending on the stage and the view.
In Ubyquo you can add and fill in the analytical fields of invoices in four ways, depending on the stage of the process and the view you are working in.
Important
Whichever way you use, make sure the analytical fields are correctly filled in before exporting or posting the invoices to the ERP.
Option 1 When adding the invoice, from Documents
- 1
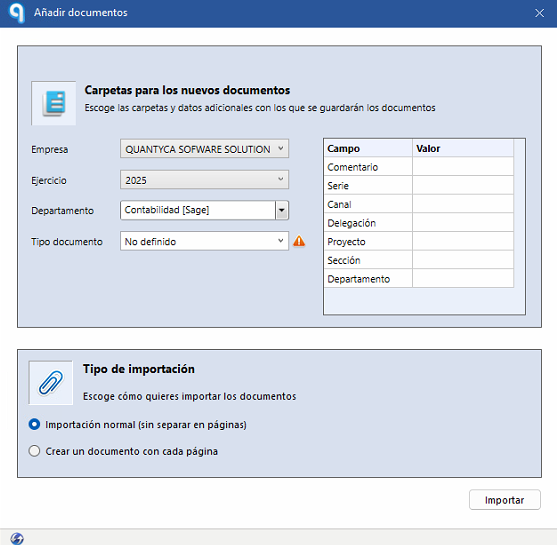
Add the invoice
In the Documentos (Documents) tab, drag the invoice into Ubyquo or click the Añadir (Add) button.
- 2
Fill in the analytical fields
Enter the corresponding analytical fields right away.
Option 2 From Invoices, on several invoices at once
- 1
Select the invoices
In the Facturas (Invoices) tab, with the invoices in the Por contabilizar (To be posted) stage, select one or several.
- 2
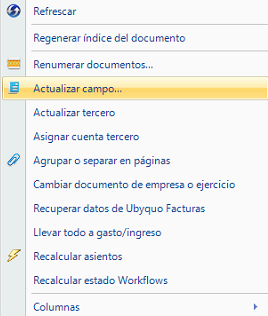
Choose “Actualizar campo”
Right-click the selection and choose Actualizar campo (Update field).
- 3
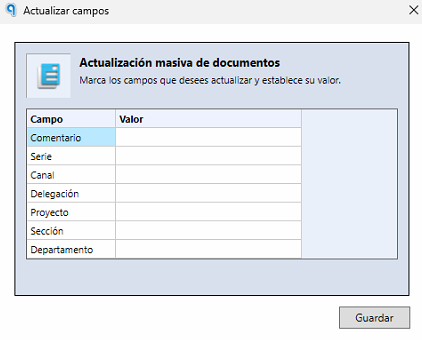
Fill in the analytical fields
The analytical fields are updated on all the selected invoices at once.
Option 3 From the invoice editor
- 1
Open the invoice
Open it from the Facturas tab.
- 2
Click “Datos analíticos”
At the top of the editor, click Datos analíticos (Analytical data).

- 3
Fill in the analytical fields
Complete the relevant analytical fields.
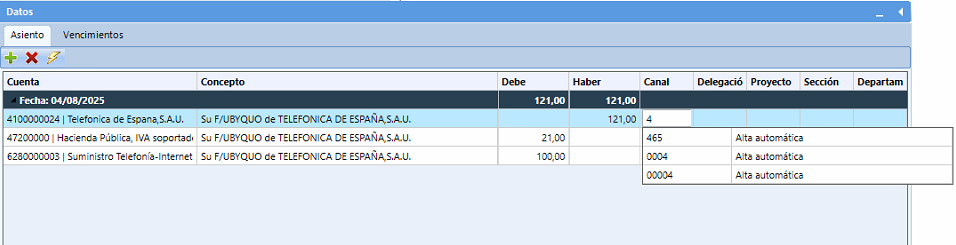
Option 4 From the journal entry grid
- 1
Type in the entry cell
If you have the Grid de asientos (Journal entry grid) enabled in the invoice editor, enter the analytical values directly in their cell, on the invoice's journal entries.