
Updated on 9 October 2026
How to delete bank transactions
Which transactions you can delete and how to set them to Not posted first.
In Ubyquo, bank transactions are deleted from the account and card management screen, with some restrictions to avoid inconsistencies in the transaction history.
Intermediate transactions
They cannot be deleted: they would leave gaps in the dates of the history.
Posted transactions
They cannot be deleted either. First, change their status to No contabilizado (Not posted) (part 1).
Part 1 Mark the transactions as Not posted
- 1
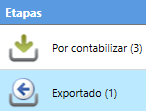
Open the Exportados stage
In the Bancos (Banks) tab, open the Exportados (Exported) stage. You only need to do this if the transactions you want to delete are in this stage.
- 2
Select the transactions
Select the bank transactions you want to delete.
- 3
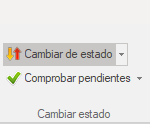
Click “Cambiar de estado”
At the top, select Cambiar de estado (Change status).
- 4
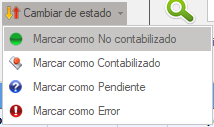
Mark them as Not posted
Select Marcar como No contabilizado (Mark as Not posted).
They are now in Por contabilizar
From now on, the transactions are managed from the Por contabilizar (To post) stage.
Part 2 Delete the transactions
- 5
Open the Por contabilizar stage
In the Bancos tab, open the Por contabilizar stage.
- 6
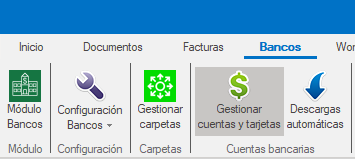
Open account management
At the top, select Gestionar cuentas y tarjetas (Manage accounts and cards).
- 7
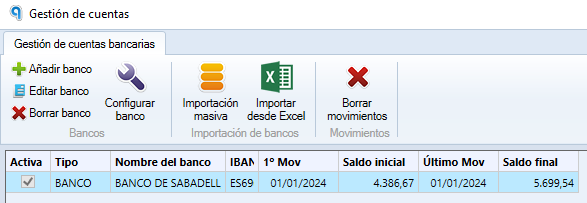
Choose the bank account
In the management window, select the bank account whose transactions you want to delete.
- 8
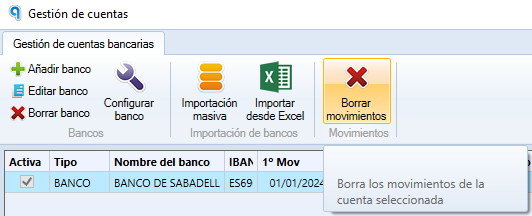
Click “Borrar movimientos”
Select Borrar movimientos (Delete transactions).
- 9
Choose the range
In the window that appears, select the range of transactions you want to delete.
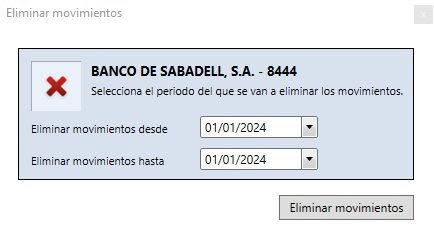
Done! The transactions in the selected range are deleted from the bank account.