
Updated on 9 October 2026
Activate a company in CENTRAL eFACTURA
Activate your Ubyquo companies in Central eFactura and get their details ready to start invoicing.
Before you start
The company must already exist in Ubyquo.
Who does it
An accounting or administrator user of CI Cloud.
How long it takes
About 10 minutes per company.
Part 1 Activate the company in the invoicing tool
- 1
Sign in to CI Cloud
Open cic.quantyca.com and sign in with an accounting or administrator user.
- 2
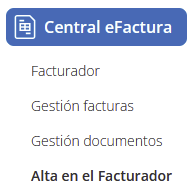
Open «Alta en el Facturador»
Go to the Central eFactura module
 and choose Alta en el Facturador (register in the invoicing tool).
- 3
Activate the company
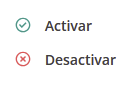
You will see all your companies, active and inactive. On the one you want to activate, click the three dots
 and choose Activar (Activate).
Several companies? Select them all and activate them at once.
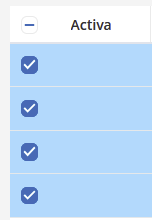
Check that it is active
A green check mark appears in the Activa (Active) column. You can now set it up.
Part 2 Set up the company in the invoicing tool
- 4
Open the invoicing tool
In Central eFactura › Facturador, choose the company and the fiscal year.

- 5
Company details Required
In Datos empresa (Company details), fill in the fields marked in red:
Tax ID (CIF/NIF)Individual or legal entityFull name or company nameAddress, postcode, city and provinceContact person and email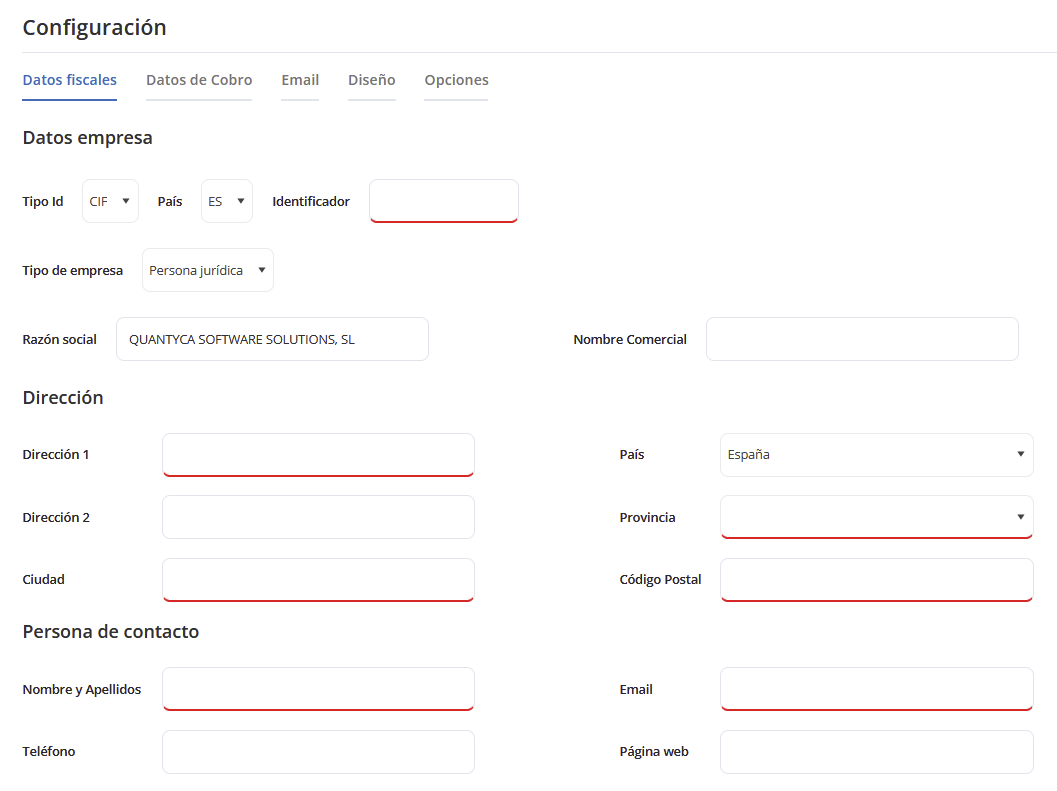
- 6
Tax settings Required
In Configuración fiscal (Tax settings), enter:
Whether it issues invoices with withholdingStart of the fiscal yearInvoicing currencyTaxes (21% VAT, 10% VAT, personal income tax withholding, equivalence surcharge…)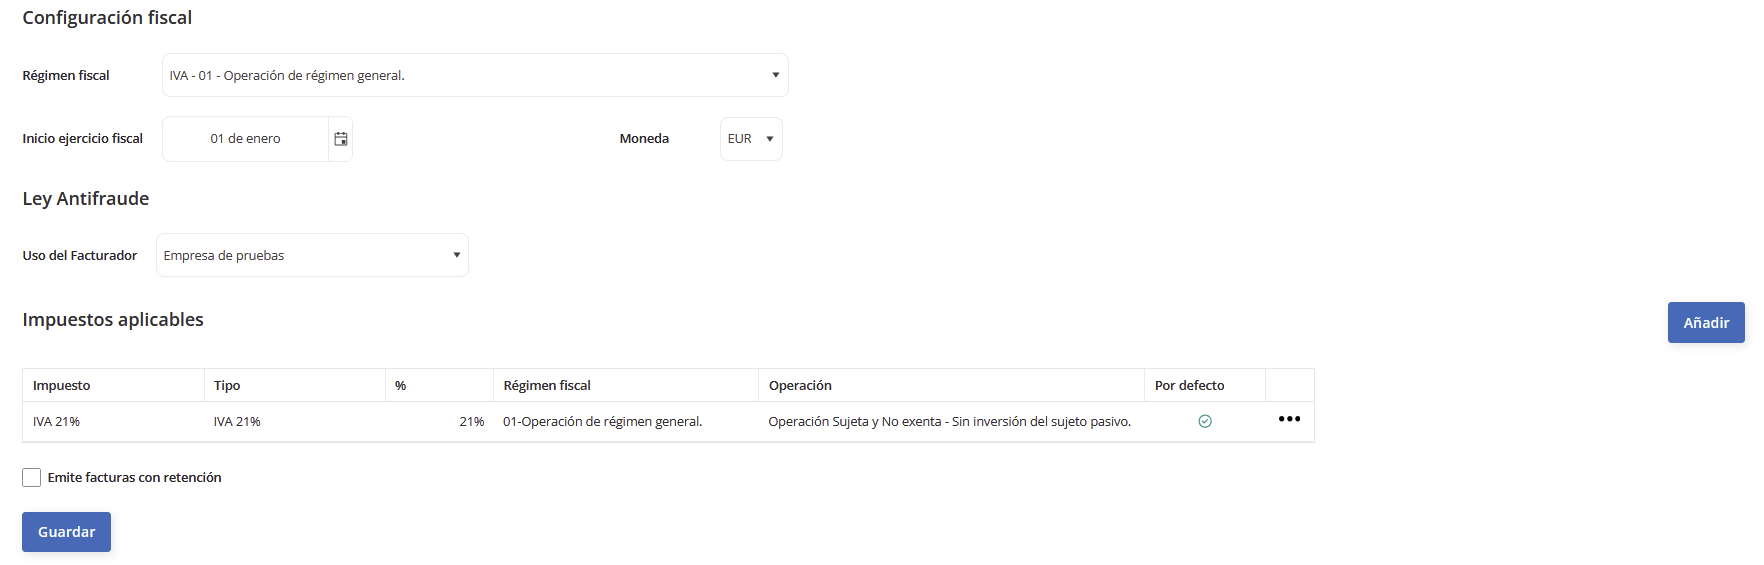
- 7
Collections and bank account At least one
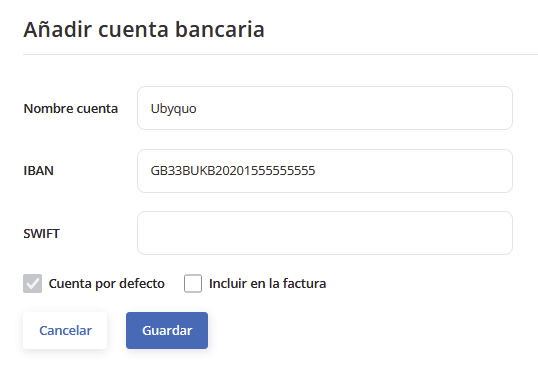
In Datos de cobro (Collection details), create a collection method (for example, direct debit at 30 and 60 days) and a bank account, and mark them as default.
Number of instalmentsDays until the first instalmentDays between instalmentsType of receivableBank and IBAN (must be correct)SWIFT, for international accounts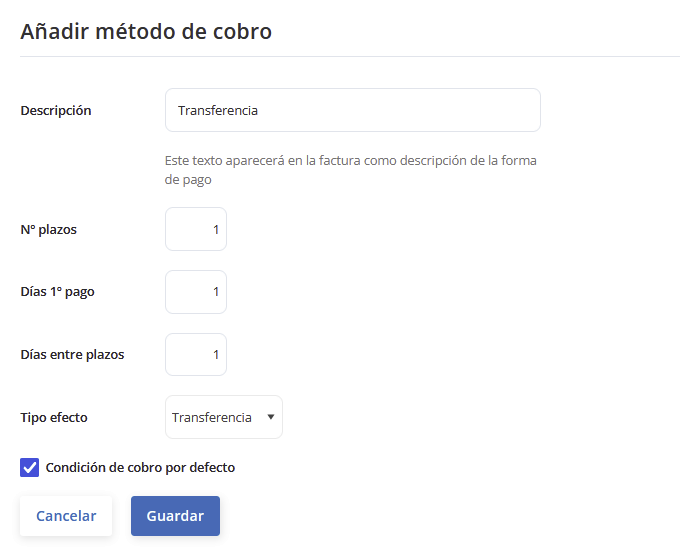
- 8
Customize your invoices Optional
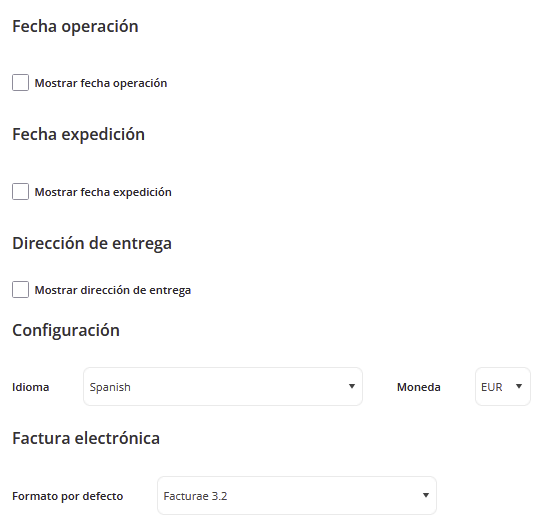
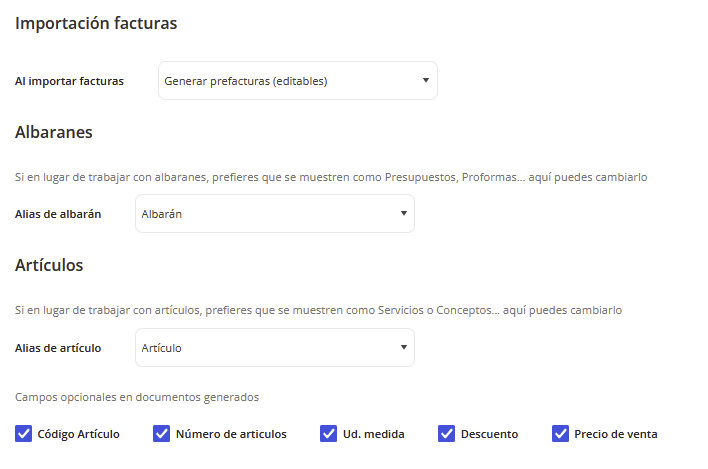
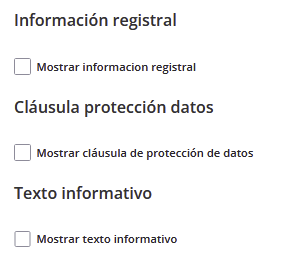
Email: subject and text of the email when sending invoices. Diseño (Design): the company logo. Opciones (Options): dates, delivery address, language, e-invoice format, imports and legal text. Click
 when you are done.
Done! The company can now issue invoices from the invoicing tool.