
Updated on September 18, 2026
Activate one or several Ubyquo companies in the invoicing tool
How to activate in Central eFactura the companies you have already created in Ubyquo, one or several.
To activate a company in the invoicing tool of the Central eFactura module, the company must already be created in Ubyquo and the appropriate user rules must be set up. User rules
The steps below describe how to register the company Quantyca Software Solutions SL in the invoicing tool:
Accessing CI Cloud
- Go to CI Cloud
- Log in with an accounting user or an administrator user.
- Go to the Central eFactura module.

- Select the Alta en el Facturador (Register in the Invoicing Tool) option.
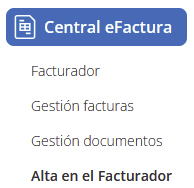
Activating the Company
- In the Alta en el Facturador window, all companies are shown, both active and deactivated.
- To add a new company, click the three dots to the right of its name.

- Select Activar (Activate) from the drop-down menu.
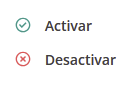
- You can do this with several companies at once by selecting more than one.
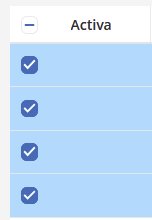
- After you activate it, the Activa (Active) column will show a green check icon.
With these steps, the company will be activated in the invoicing tool.
Setting Up Tax Details
After activating the company, we move on to setting up the tax details:
- Go to Central eFactura and choose Facturador.
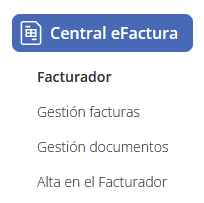
- Select the Company and Fiscal year.

- Fill in the required fields marked in red under Datos empresa (Company details):
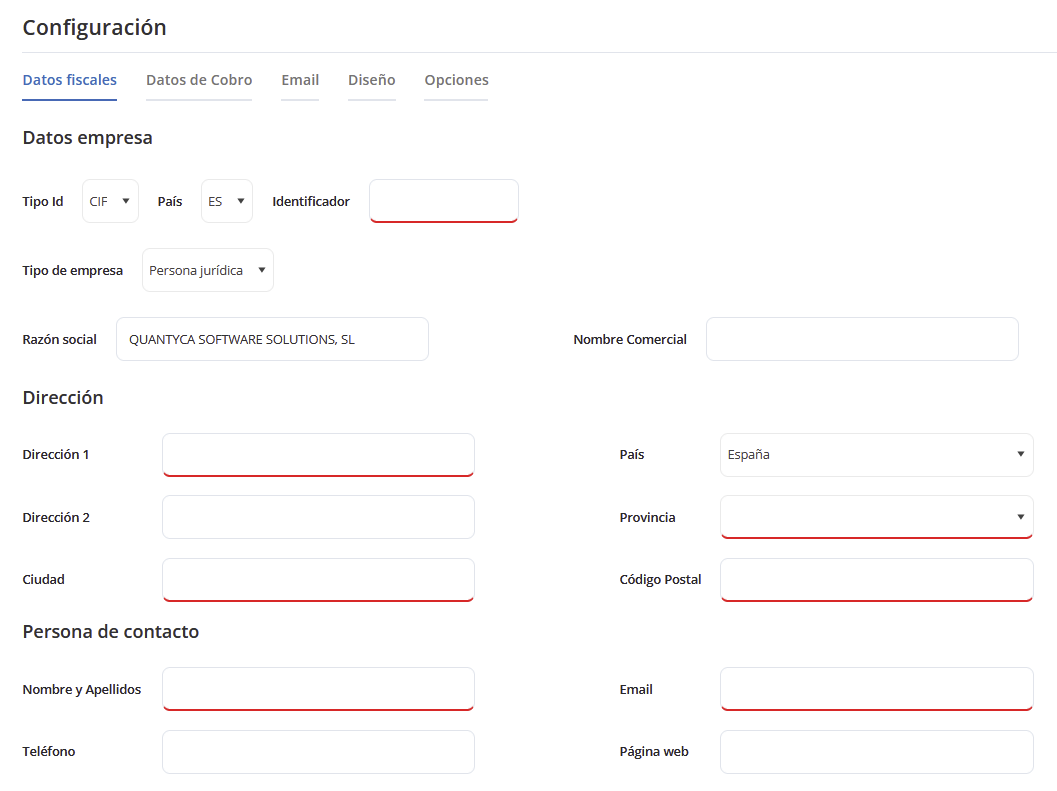
- — CIF/NIF.
- — Company type (individual or legal entity).
- — First and last name, or company name.
- — Address, postal code, city, and province.
- — Contact person and email.
- Set the tax parameters under Configuración fiscal (Tax settings):
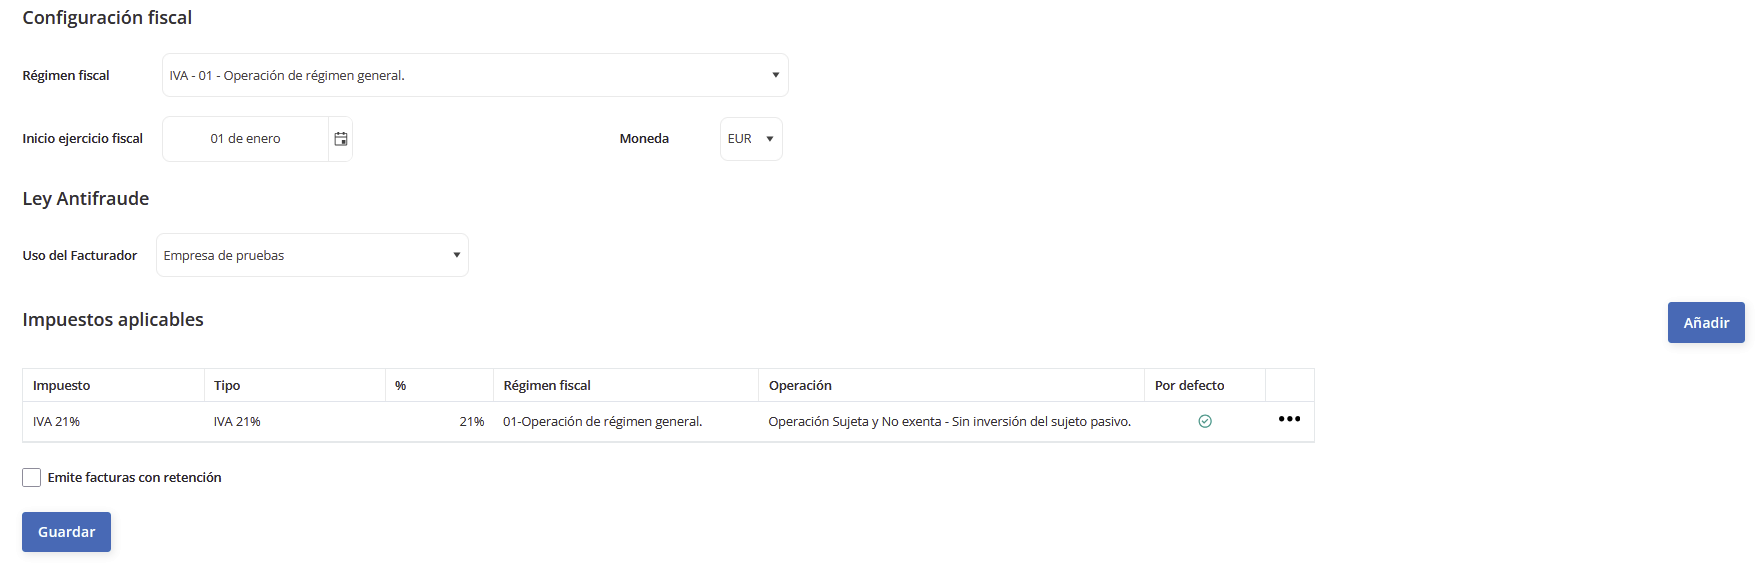
- — Indicate whether the company issues invoices with withholding.
- — Start date of the fiscal year.
- — Invoicing currency.
- — Applicable taxes (21% VAT (IVA), 10% VAT, IRPF (personal income tax), equivalence surcharge (recargo de equivalencia), etc.).
Setting Up Collection Details
- Enter at least one collection method (example: direct debit receipt at 30 and 60 days).

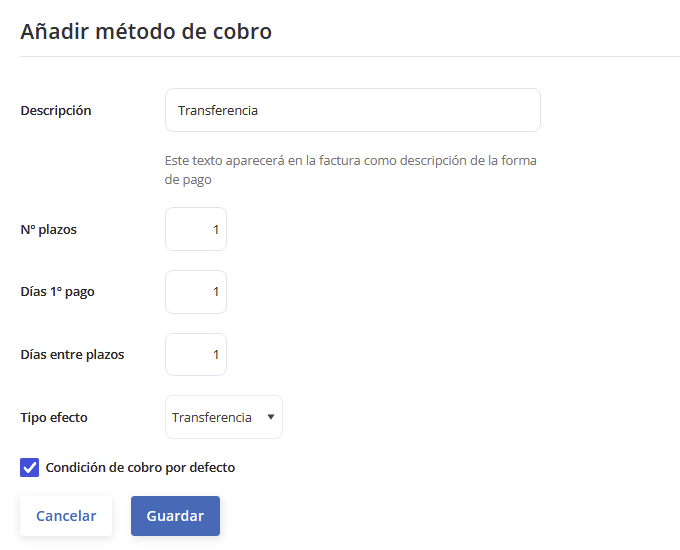
- — Number of installments.
- — Days until the first installment (example: 30 days).
- — Days between installments (example: 30 days).
- — Type of receivable (example: direct debit receipt).
- — Mark it as the default collection method and save the changes.
- Add a bank account:

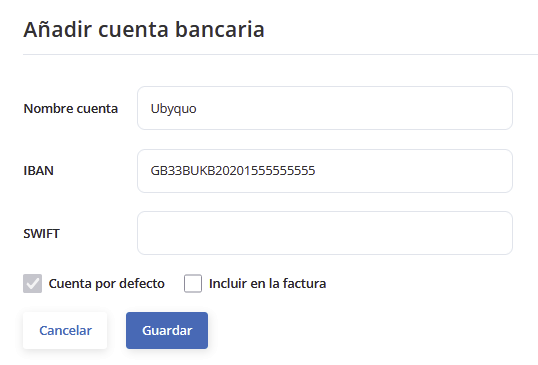
- — Bank name.
- — IBAN (it must be valid in order to save the changes).
- — SWIFT: International accounts.
- — Mark it as the default account.
Setting Up Email
- Go to the Email option.
- Enter the subject and the text that will appear in the email when you choose the Enviar por correo electrónico (Send by email) option.
- Save.
Setting Up Design
- Upload the company logo that will appear on the invoices.
Options
- Dates, delivery address, language, and e-invoice format:
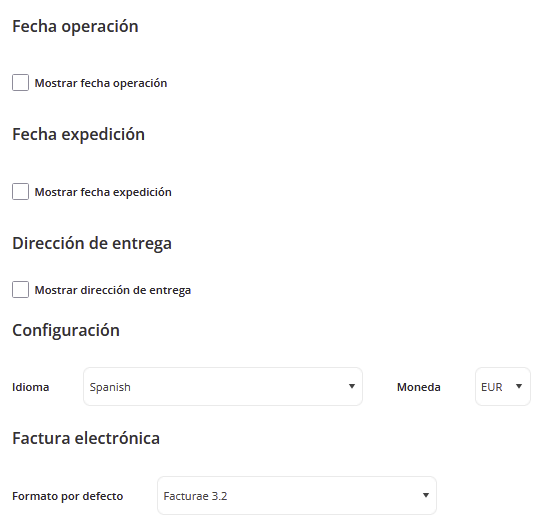
- — Show the operation date, issue date, or delivery address.
- — Language and currency settings.
- — Select the e-invoice format you want.
- — This setting only applies to the invoice image.
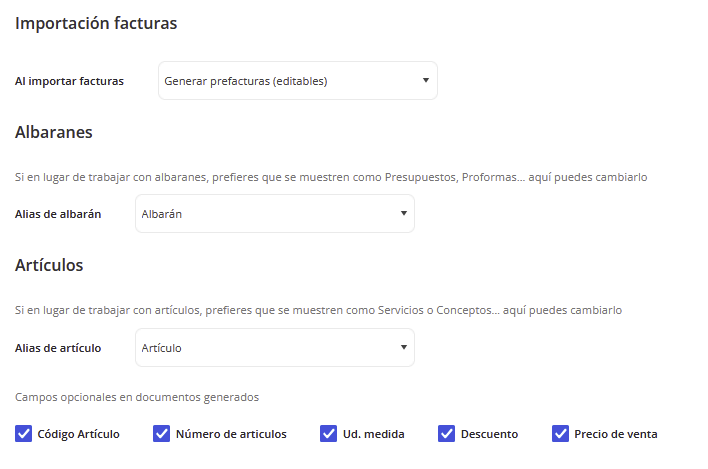
- Importing invoices, delivery notes, and items:
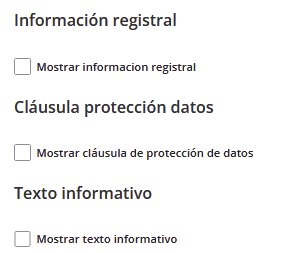
- Company registry information, data protection clause, and informational text:
- Save.
