
Updated on 18 September 2026
How do I create customers in CENTRAL eFACTURA?
Add your customers to Central eFactura one by one or in bulk from your Sage data.
To create customers in the Central eFactura module, you can follow these steps, depending on whether you want to do it in bulk or one at a time.
Steps to create customers in bulk (Sage)
- Open the company: Go into the company you want to upload the customers from, through the Documentos (Documents) or Facturas (Invoices) tab.
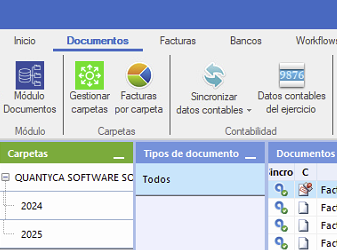
- Go to accounting data: At the top, select Datos contables del ejercicio (Accounting data for the fiscal year).

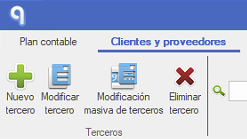
- Open the Cliente/Proveedores tab: Go to the Cliente/Proveedores (Customers/Suppliers) tab.
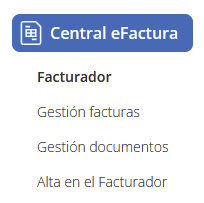
- Open Central eFactura and choose Facturador (Invoicing tool).
- Select the Empresa (Company) and Ejercicio (Fiscal year).

- Export to the invoicing tool: At the top of the tab, click the Exportar al facturador (Export to the invoicing tool) icon (Excel symbol). If you use the Sage connector, any existing items will be exported too.

- Save the Excel file: Once exported, save the Excel file on your device.
- Open the invoicing tool: Select the corresponding company.
- Import the customers:
- — In the invoicing tool, go to the Clientes (Customers) tab.
- — On the right-hand side, select Importar (Import).

- Confirm the import: A summary of the customers to be imported will be displayed. If everything is correct, you can click Importar to load the customers in bulk.
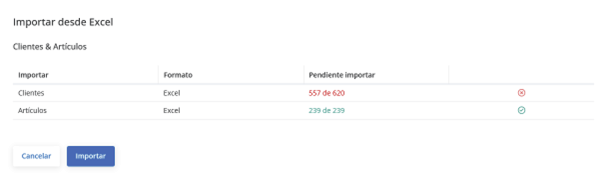
- Download the Excel template (optional): You can also download an Excel template from the Clientes tab in the invoicing tool. Fill in the template with the customers' information and then import it directly.
Steps to create a customer one at a time
- Open Central eFactura and choose Facturador (Invoicing tool).
- Select the company and fiscal year:
- Open the Clientes (Customers) tab.

- Click the Nuevo Cliente (New Customer) icon to start the process.
- Fill in the customer's details:
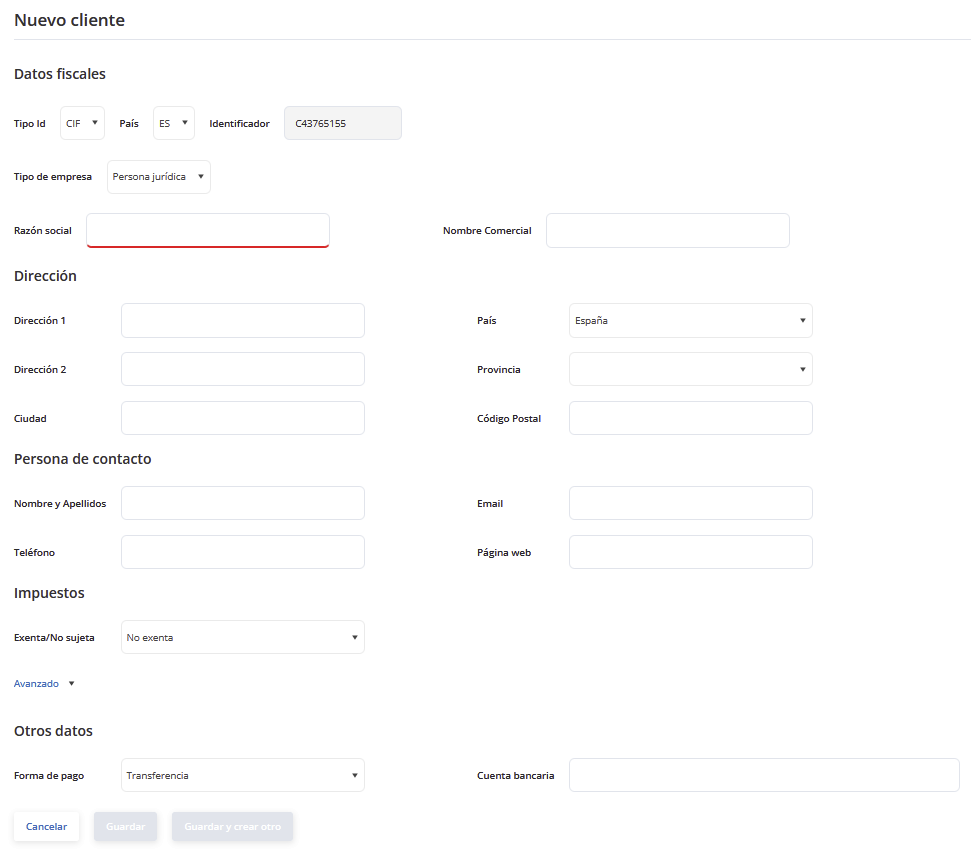
- — CIF/NIF: Enter the customer's tax identification number.
- — Datos fiscales (Tax details): Fill in the tax details that apply to the customer.
- — Dirección (Address): Add the customer's full address.
- — Persona de contacto (Contact person): Indicate who the contact person for the customer will be.
- — Impuestos (Taxes): Configure the taxes that apply to the customer.
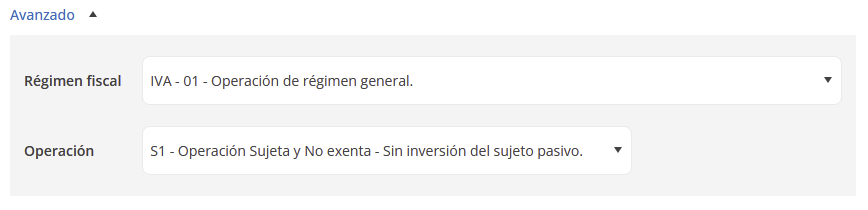
- — Avanzado (Advanced): Here you can add more detailed information if needed.
- — Régimen fiscal (Tax regime): Select the appropriate tax regime for the customer.
- — Operación (Operation): If necessary, set the associated operation type.
- — Forma de pago (Payment method): Select the payment method the customer will use (for example, bank transfer, card, etc.).
- — Cuenta bancaria (Bank account): If the payment method is direct debit (recibo domiciliado), you must add the customer's bank account.
- Save, or save and create another.

Steps to create customers with a template
- Open Central eFactura and choose Facturador (Invoicing tool).
- Select the Empresa (Company) and Ejercicio (Fiscal year):
- From the Clientes (Customers) tab of the invoicing tool, download the Excel template.

- Fill in the template with the customer data.
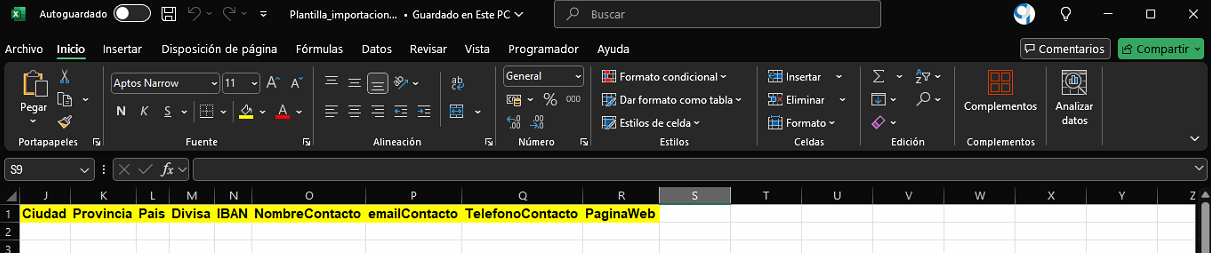
- Upload the template to the invoicing tool, which will create the customers automatically.
If we use the Sage ERP, we can also download them directly from Ubyquo and then import them into the invoicing tool.