
Updated on November 5, 2026
Ubyquo installation guide: client computers
Install Ubyquo on each user's computer and connect it to the server's shared folder.
This guide describes the general procedure to install Ubyquo on a user's computer (Client installation). Ubyquo must first be installed on the server, with the Quantyca folder shared: see the Ubyquo installation guide: server.
Important: before you start the installation, check the environment requirements, the ERP in use, the location where Ubyquo will be installed and the users who will need access.
Prerequisites
Microsoft .NET Framework
Every computer where Ubyquo will be used must have Microsoft .NET Framework 4.8 installed: Download .NET Framework 4.8.
Before you run the installer
- Make sure you are working on the user's computer where Ubyquo will be installed.
- Make sure the computer has the corresponding ERP or accounting software installed.
- Confirm with the customer which drive or location they want the installation in.
- Make sure you have enough permissions to install.
Part 1 Install Ubyquo
- 1
Run the installer
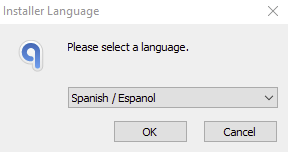
Download the installer from Support (Contact › Go to support) and run Instalar_Ubyquo.exe. Select the language and click OK.
If Windows shows a security prompt asking for permission to install, select Sí (Yes). If the initial installation screen appears again, click OK again.
- 2
Start the installation
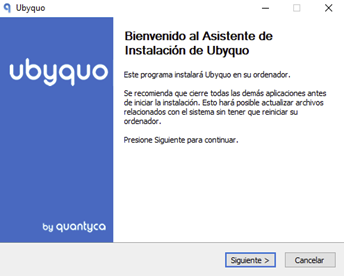
On the welcome screen, click Siguiente (Next).
- 3
Choose the Client installation
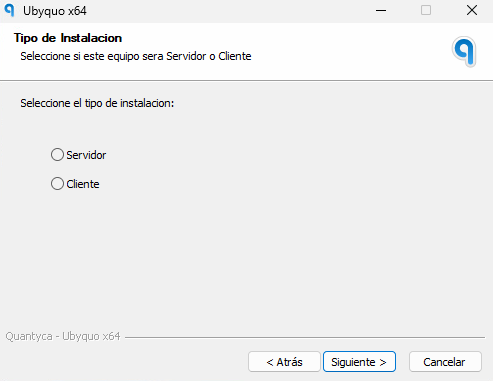
Select the Cliente (Client) installation type and click Siguiente (Next).
- 4
Accept the license
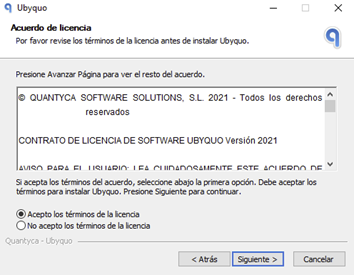
Read and accept the license terms and click Siguiente (Next).
- 5
Choose the installation location
The installer shows the default installation folder. If you need to change it, click Examinar (Browse) and select the location. Then click Siguiente (Next).
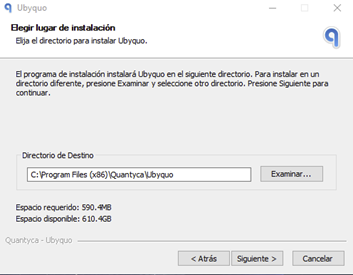
- 6
Continue with the installation
Click Siguiente (Next).
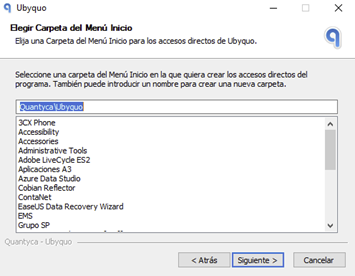
- 7
Install Ubyquo
Click Instalar (Install).
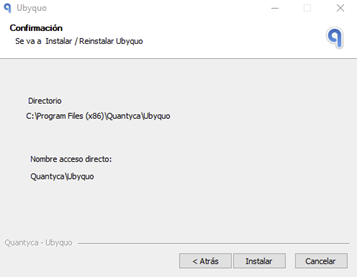
- 8
Open the installation details
Click Ver detalles (Show details) to continue with the configuration.
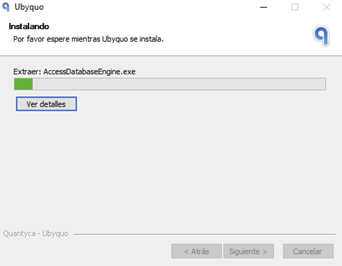
- 9
Select the server folder
Browse to the shared folder of the server installation, with the correct path:
\\SERVIDOR\Quantyca. Then click Aceptar (OK).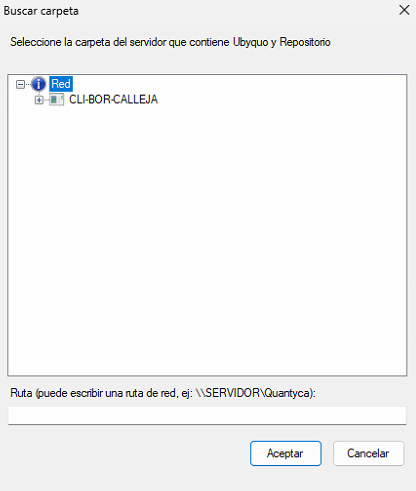
- 10
Finish the installation
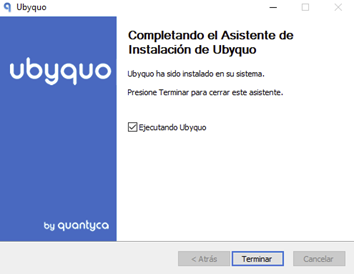
Wait for the process to finish and then click Terminar (Finish).

Part 2 Configure the security permissions
Inside the Quantyca folder, the group of users who use Ubyquo needs the Modify permission (read and write) on these folders:
Ubyquo\tempandUbyquo\temp\upgradeUbyquo\config(includingConfig\Report,Config\Masters,Config\DispatcherTemplates,Config\MetadatosDocumentosandconfig\connectors)Ubyquo\UserCustomizationUbyquo\BBDDUbyquo\RepositorioUbyquo\InstalacionClienteUbyquo\UbyquoNet.exe.WebView2Quantyca\RepositorioandQuantyca\Repositorio\RepositoriesQuantyca\Updater
Important: give the Modify permission to the group of users who use Ubyquo on all the folders in the list.
Done! Ubyquo is now installed on the user's computer.