
Updated on 18 September 2026
Documents module manual
See the module's reference guide, starting with logging in and changing your password.
Logging in
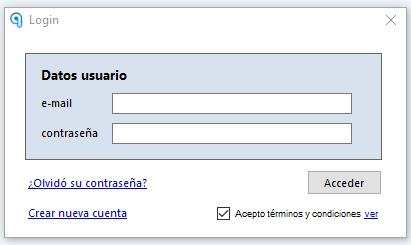
When you run the program, you will be asked for your user, which is the e-mail address provided during registration, and your password, provided by the installer and/or trainer.
Changing your password
If you forget your password, you can click the "¿Olvidó su contraseña?" (Forgot your password?) option to receive a new password by e-mail.
To change your password, follow these steps:
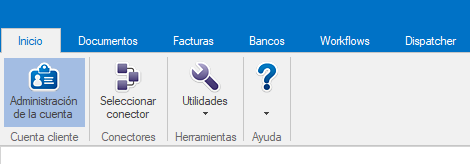
- Go to Inicio > Administración de la cuenta (Home > Account administration). (If it does not open, you can access it from here)
- Select the "Mis datos" (My details) option and click "Cambiar contraseña" (Change password).
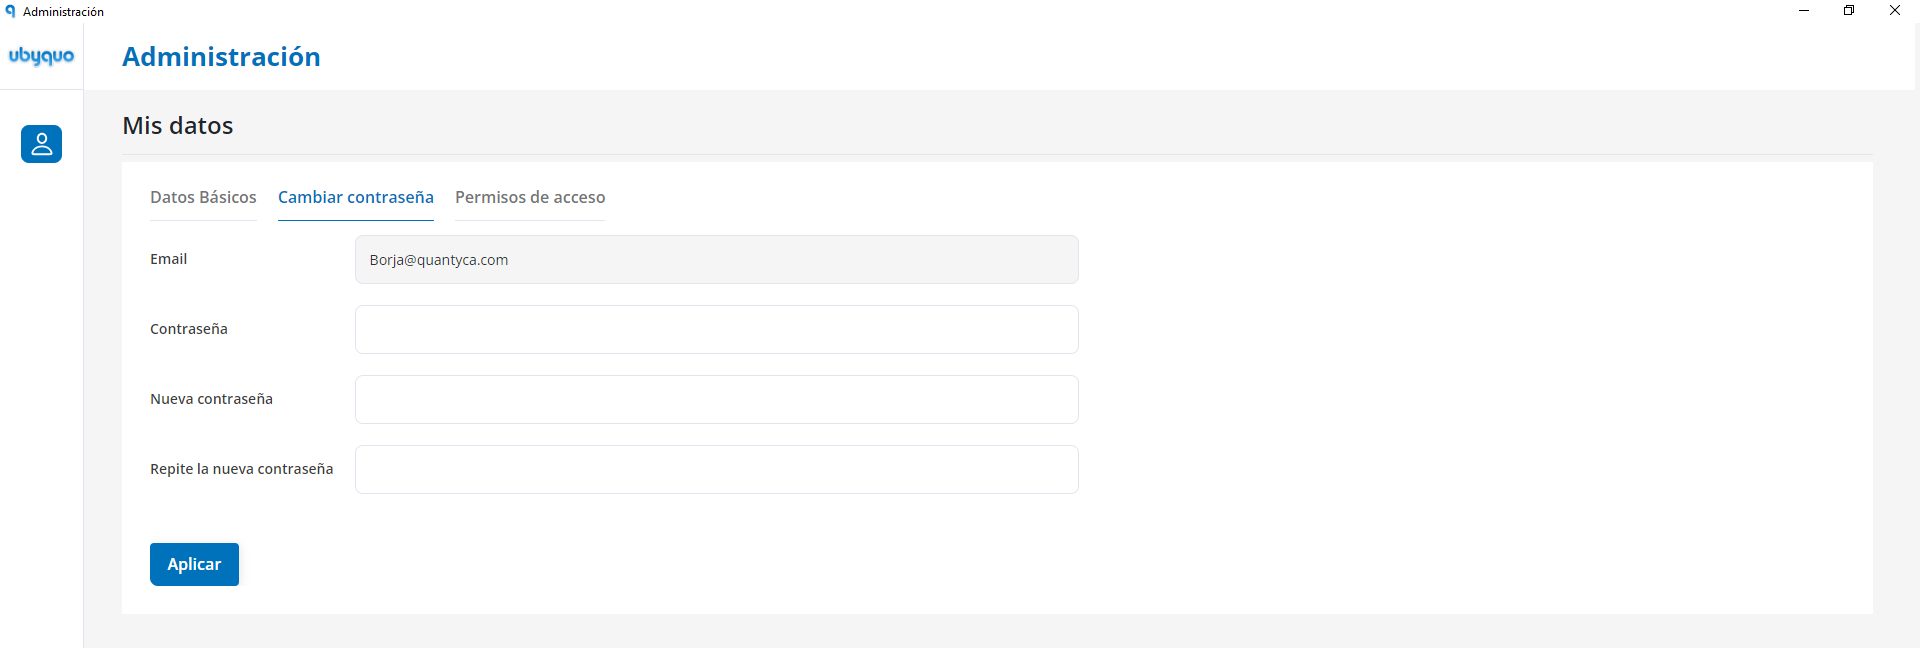
- The new password must be:
- — Alphanumeric
- — At least 8 characters
- — Include uppercase and lowercase letters
We recommend updating your password regularly for security reasons.
Accessing the Help Center

To get familiar with the options of the Documents module, open the Help Center from the module icon. There you will find detailed articles and guides.
Manage folders - Creating companies and fiscal years
There are two ways to create companies and fiscal years in the system: bulk creation and manual creation.
Note: If you use Sage Seos, see the specific guide at SAGE - CSV Connector.
If you want to create several companies and fiscal years, follow these steps:
- Go to the "Documentos" (Documents) tab and select "Gestionar Carpetas" (Manage folders).
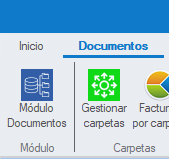
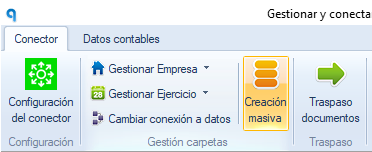
- Click "Creación masiva" (Bulk creation).
- In the pop-up window, the companies and fiscal years available in the ERP or accounting software will be shown.
- — Select the ones you want and click "Generar carpetas seleccionadas" (Generate selected folders).
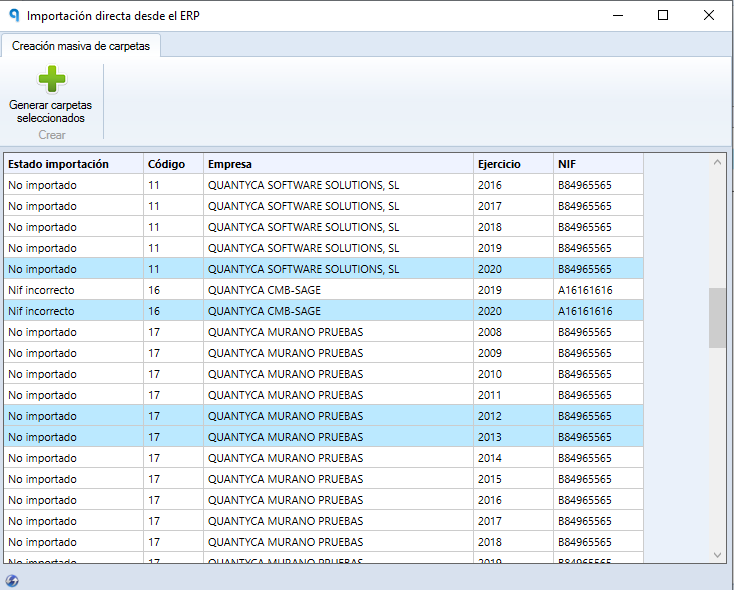
- Check that the "Estado importación" (Import status) column shows the message "Importación correcta" (Import successful), which means they were created successfully.
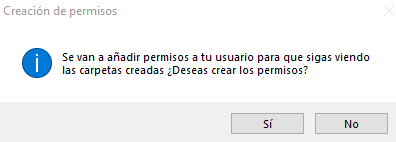
- A window will open for you to grant permissions to your user if you do not have the administrator profile.
- — Select "Sí" (Yes) and close the windows to go back to the main Documents view.
To create companies and fiscal years manually, follow these steps:
- Go to the "Documentos" tab and select "Gestionar Carpetas".
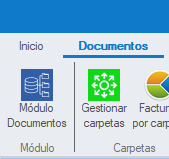
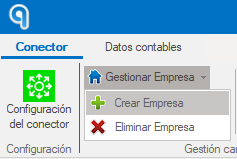
- Click "Gestionar Empresa" (Manage company) and select "Crear Empresa" (Create company).
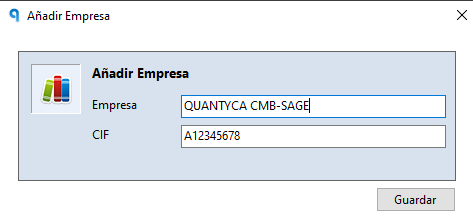
- Fill in the required details (company name and CIF) and click "Guardar" (Save).
- Then select "Gestionar Ejercicio" (Manage fiscal year) and click "Crear Ejercicio" (Create fiscal year).
- Enter the corresponding year and click "Guardar".
- Finally, synchronize the Chart of Accounts to complete the process.
You can see how to do it here..
Deleting a fiscal year or company
This process should only be carried out by administrator users.
Before deleting, make sure the company or fiscal year contains no documents or bank transactions in posted status.
- Go to the "Documentos" tab in Ubyquo.
- Position yourself on the documents of the fiscal year.
- Right-click with the mouse.
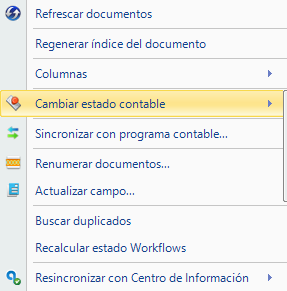
- Choose "Cambiar estado contable" (Change accounting status).
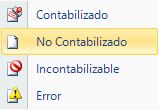
- Select "No contabilizado" (Not posted).
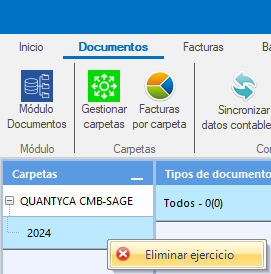
- Go to the "Documentos" tab in Ubyquo.
- Position yourself on the fiscal year.
- Right-click with the mouse.
- Choose "Eliminar ejercicio" (Delete fiscal year).
- Go to the "Documentos" tab in Ubyquo.
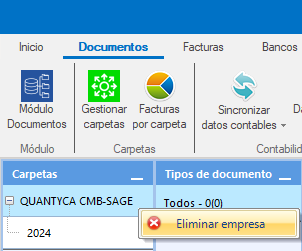
- Position yourself on the company.
- Right-click with the mouse.
- Select "Eliminar empresa" (Delete company).
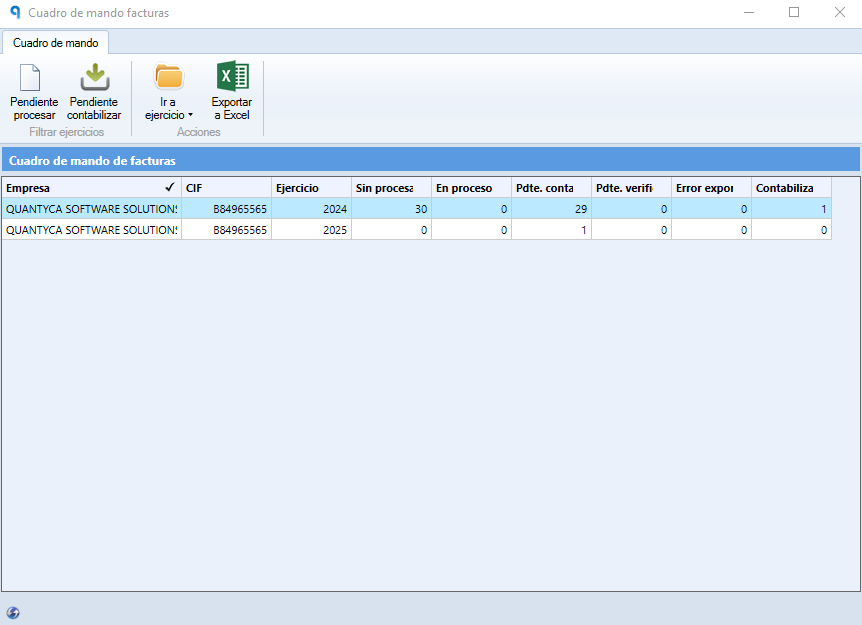
Invoices by Folder

When you open this section, a dashboard is shown that gives you a complete overview of all unposted documents.
Synchronize accounting data
Note: If you use Sage Seos, see the specific guide at SAGE - CSV Connector.
There are two ways to synchronize accounting data:
- It lets you synchronize only the fiscal year you are currently positioned on.

- It makes it easy to synchronize all the fiscal years you select.
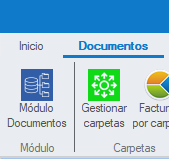
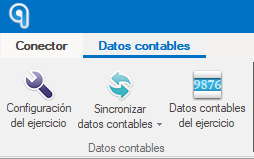
Both options let you keep the data up to date according to your needs. The available types of synchronization are described below:
- Click "Sincro Rápida (solo nuevos)" (Quick sync (new only)) or "Smart Sync (nuevos y cambios desde la última sincro)" (Smart Sync (new and changed since the last sync)).
- It downloads only the accounts that are new or have changed since the last synchronization.
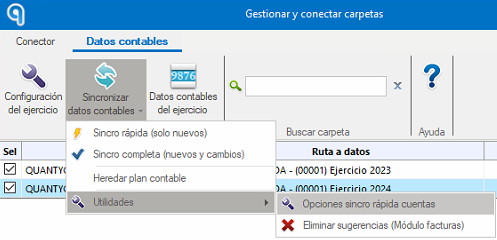
- Go to the "Documentos" tab and select "Gestionar Carpetas".
- Go to the "Datos Contables" (Accounting data) tab.
- Click "Sincro Rápida (solo nuevos)" to download the accounts that are new since the last synchronization.
- Open "Opciones sincro rápida cuentas" (Quick sync account options).
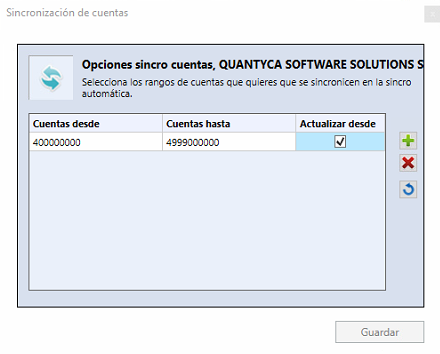
- Add account ranges.
- Remove accounts if necessary.
Ideal for frequent synchronizations or one-off checks.
- Click "Sincro Completa (nuevos y cambios)" (Full sync (new and changed)) to download:
- — The complete Chart of Accounts
- — The Journal
- — The Receivables/Payables portfolio
Recommended for new companies or when starting a fiscal year.
It lets you specify a value or range (accounts, journal entries, receivables/payables) to synchronize. It is available in all the options above.
To carry over the Chart of Accounts, Journal and Receivables/Payables portfolio from one year to the next:
- Only available in "Gestionar Carpetas" > "Datos Contables" tab.
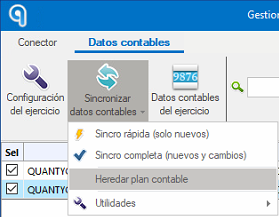
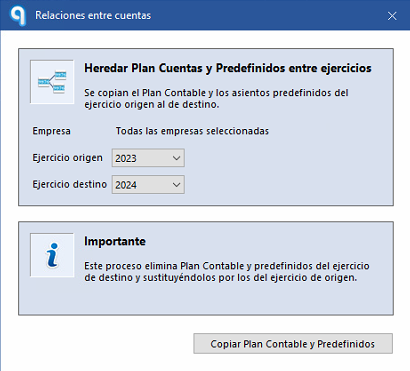
- It makes continuity between fiscal years easier.
Fiscal year accounting data
In the Documents, Invoices and Banks tabs, you will find the "Datos contables del ejercicio" (Fiscal year accounting data) button.
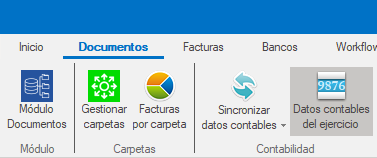
From here you can access several options:
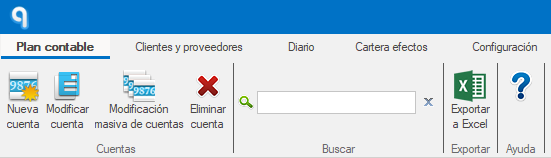
- Modificar cuenta (Edit account):
- — Journal entry type
- — Taxable bases with 0% VAT
- — Codes: transaction, VAT, withholding (mandatory if applicable)
- — Due dates
- — Balance transfers
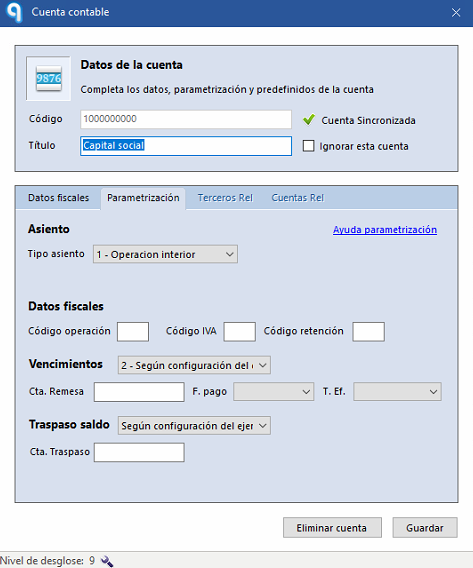
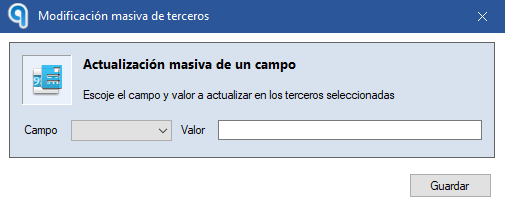
- Modificación masiva (Bulk edit):
- — Lets you set the same fields on several accounts.
- — Only one field at a time can be edited.
- Modificar tercero (Edit third party):
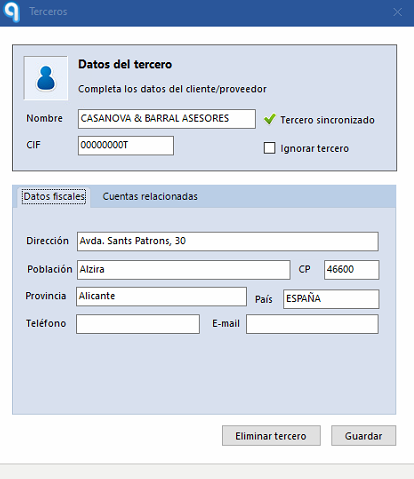
- — Name, CIF, tax details
- — Option to ignore unused accounts
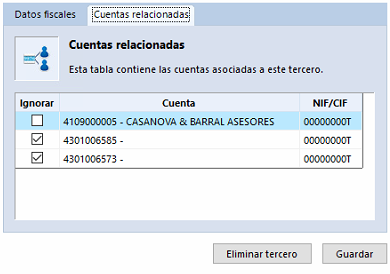
- — Ubyquo will choose the account automatically if only one is related
- Modificación masiva de terceros (Bulk edit of third parties):
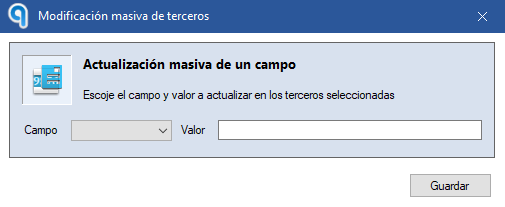
- — Lets you apply changes to several records at once.
- View all synchronized journal entries.
- It does not allow changes from this section.
- View all synchronized receivables/payables.
- When you right-click a receivable/payable, you can:
- — Synchronize selected values
- — Remove from suggestions
- — Recalculate amount by matching
- — Change the status of the receivable/payable
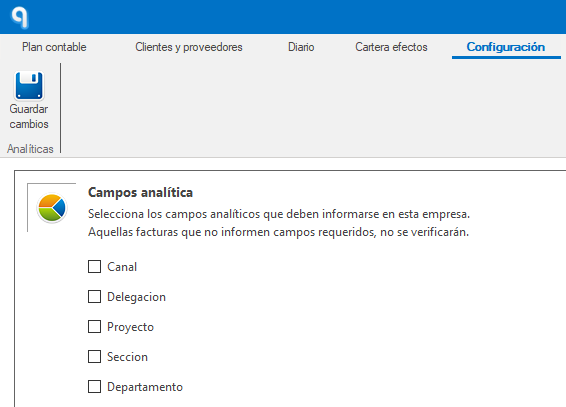
- It lets you define the mandatory analytics fields.
- If they are marked as mandatory and are empty, the document cannot be verified.
Adding documents
To enter invoices into Ubyquo, go to the "Documentos" tab and choose one of the following methods:
- Go to the "Documentos" tab.
- Open the folder on your computer that contains the invoices.
- Drag the files to the "Documentos" area of the corresponding fiscal year.
- Go to the "Documentos" tab.
- Click "Añadir" (Add).
- Select the documents from your computer.
- Check and, if necessary, adjust the fields:
- — Company
- — Fiscal year
- — Department
- — Document type
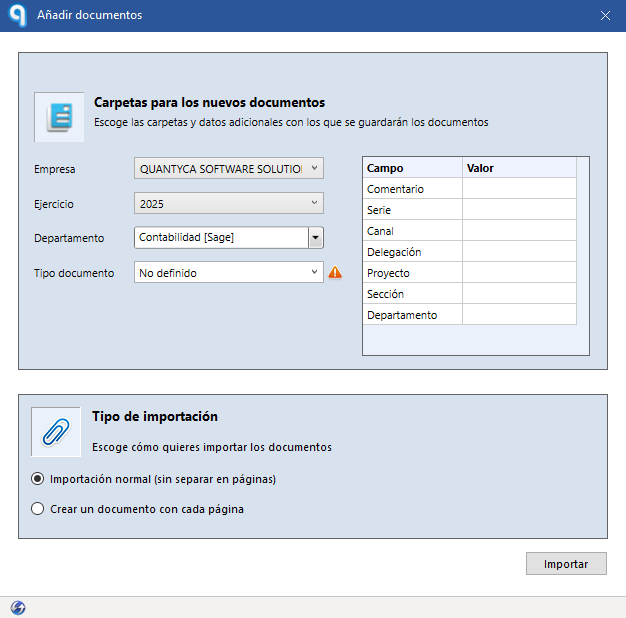
- Optionally, fill in the Analytics and/or Comment fields.
- Under "Tipo de Importación" (Import type), choose one of the following options:
- — Importación Normal (Normal import): imports the documents as they are.
- — Crea un documento con cada página (Create one document per page): splits the pages and creates one document for each.
This method lets you add documents in the background:
- Open Ubyquo from the taskbar icon (next to the clock).

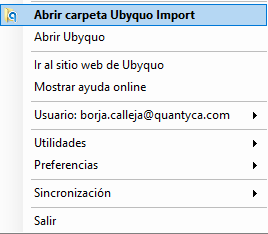
- Open the corresponding "Contabilidad [ERP]" (Accounting [ERP]) folder.
- Find and open the company folder.
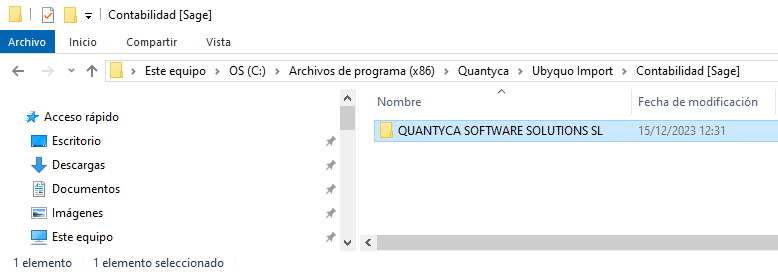
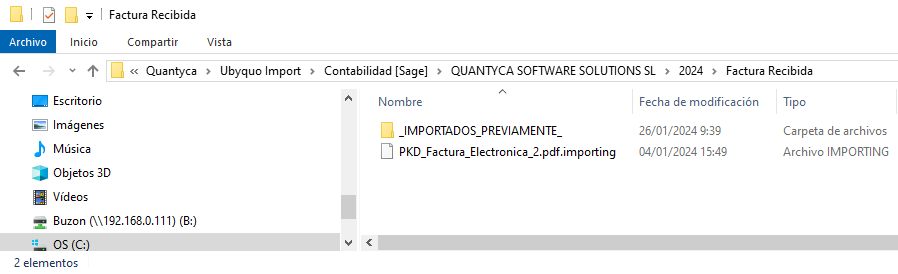
- Select the fiscal year and the document type.
- Drag the invoice to the corresponding folder.
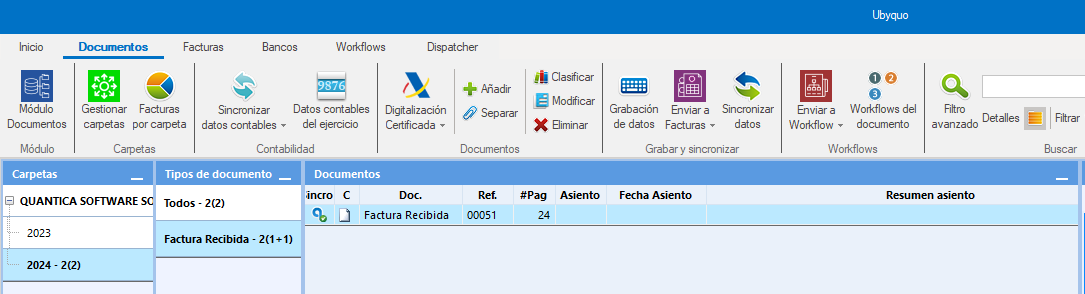
The invoices you add will appear in the "Documentos" tab, identified by a white page icon in the "C" column.
From this option you can run the following actions on a document:
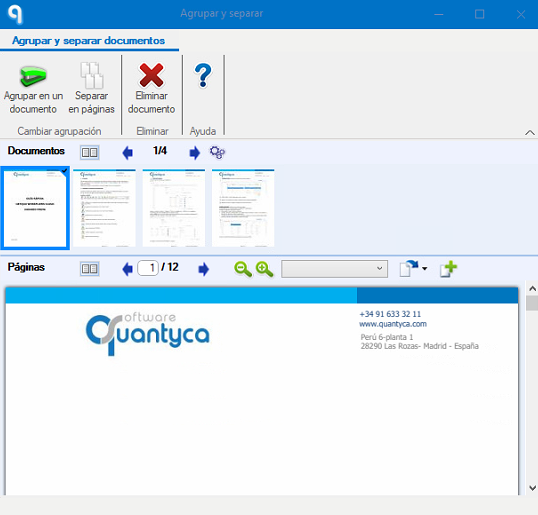
Separate documents: Splits a single document into several individual pages. Ideal when a batch of documents was scanned together.
Group documents: Combines multiple documents into a single file.
Delete documents: Removes documents from the database when they are no longer needed.
This feature lets you:
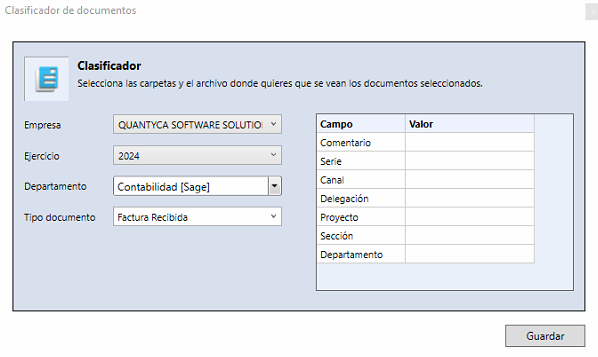
Reclassify documents to another company or fiscal year.
Change the document type, such as invoice, delivery note, contract, etc.
Add analytics fields for better segmentation or accounting analysis.
From this option you can make visual or structural adjustments to the uploaded PDF documents:
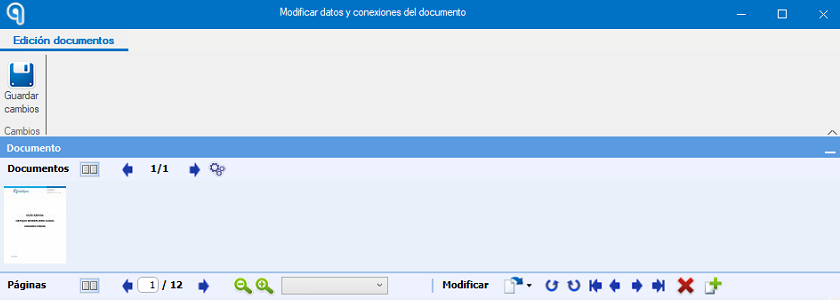
- Rotate pages to correct the orientation.
- Move pages within the document to reorder them.
- Delete pages that are not needed.
- Add new pages, for example by adding attachments.
You can delete all the documents that have not been posted, that is, those that do not have the posting icon in the "C" column.
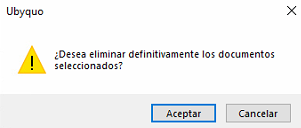
Important note: Any deleted document cannot be recovered. Be sure to review carefully before confirming the deletion.
Data entry
This option lets you perform the following actions on accounting documents within Ubyquo:
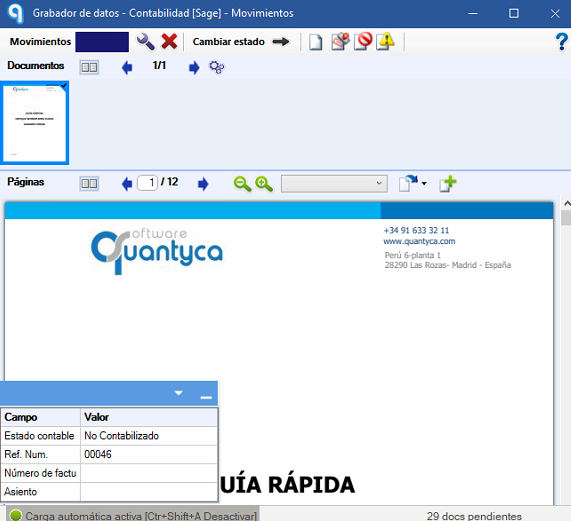
- 🆔 Add journal entry numbers: Manually record the journal entry numbers corresponding to the documents.
- Change accounting statuses: Manually change the accounting status of the documents, adjusting their position in the posting process.
Sending invoices to automatic posting
The process of sending invoices to be posted in Ubyquo follows these steps:
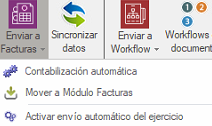
- Selecting invoices: Go to the "Documentos" tab and select the invoices you want to send for posting.
- Starting the submission: Click "Enviar a Facturas" (Send to Invoices) and choose the "Contabilización Automática" (Automatic posting) option.
- Processing screen: A window divided into two sections will open:
- — The upper part will show the number of invoices sent for processing and the available balance.
- — The lower part will let you choose whether to process the first or the last page of the invoices sent.
- Tab change: The selected invoices will move from the "Documentos" tab to the "Facturas" (Invoices) tab.
- Tracking the process: At the bottom of the screen a window will appear showing the steps the submitted batch is going through.

- Process confirmation: When the Estado (Status) field shows the message "Procesando lote" (Processing batch), the process has been completed successfully.

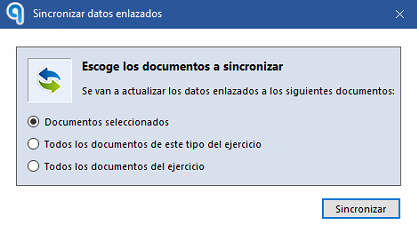
Synchronize data
From this option you can synchronize the changes made in the ERP or accounting software. Synchronization applies only to the Asiento (Journal entry) and Registro de IVA (VAT register) fields.
The other fields, even if they are changed in Ubyquo, are not transferred to the ERP, because they are data that must remain aligned with the official accounting records.
This function also lets you create a file to view from the ERP or accounting software.
This option is especially useful when, because of a data migration, the information cannot be displayed correctly from the ERP.
Send to Workflow
From this option you can send documents to the Workflows module for approval. There are two ways:
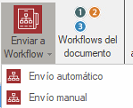
- Automatic sending: Automatically sends the document to its corresponding Workflow. It only works if you have the Workflows rules configured. We recommend using this option after sending to automatic posting, from the Invoices tab.
- Manual sending: Lets you manually send the document to the Workflow you choose.
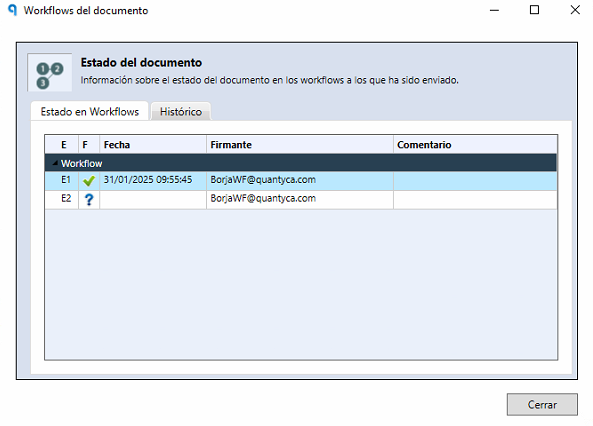
Document Workflow
This icon shows the workflow status and its history. You can see which stage it is pending at, whether it has been withdrawn, or who rejected it.
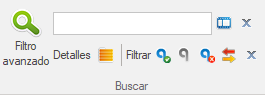
Advanced filter
This section offers different filters you can use to search for documents.
Notify changes
An e-mail is sent to the users who have the company and fiscal year in their rules, indicating that there have been changes to the documents.

Export
There are 3 different options:
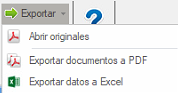
- Open originals: Opens the selected document or documents.
- Export documents to PDF: Opens a window to select how and where to save it.
- Export data to Excel: A window opens to choose the file location.
In addition:
- Email: Opens the default e-mail client and attaches the selected document or documents.

- Print: Sends the documents to the default printer.

Help
To get familiar with the options of the Documents module, open the Help Center from the Help icon. There you will find detailed articles and guides.
